Green Thumb DIY: Step-by-Step Shade Net Setup for Home Gardeners
Introduction: Building Your Backyard Sanctuary
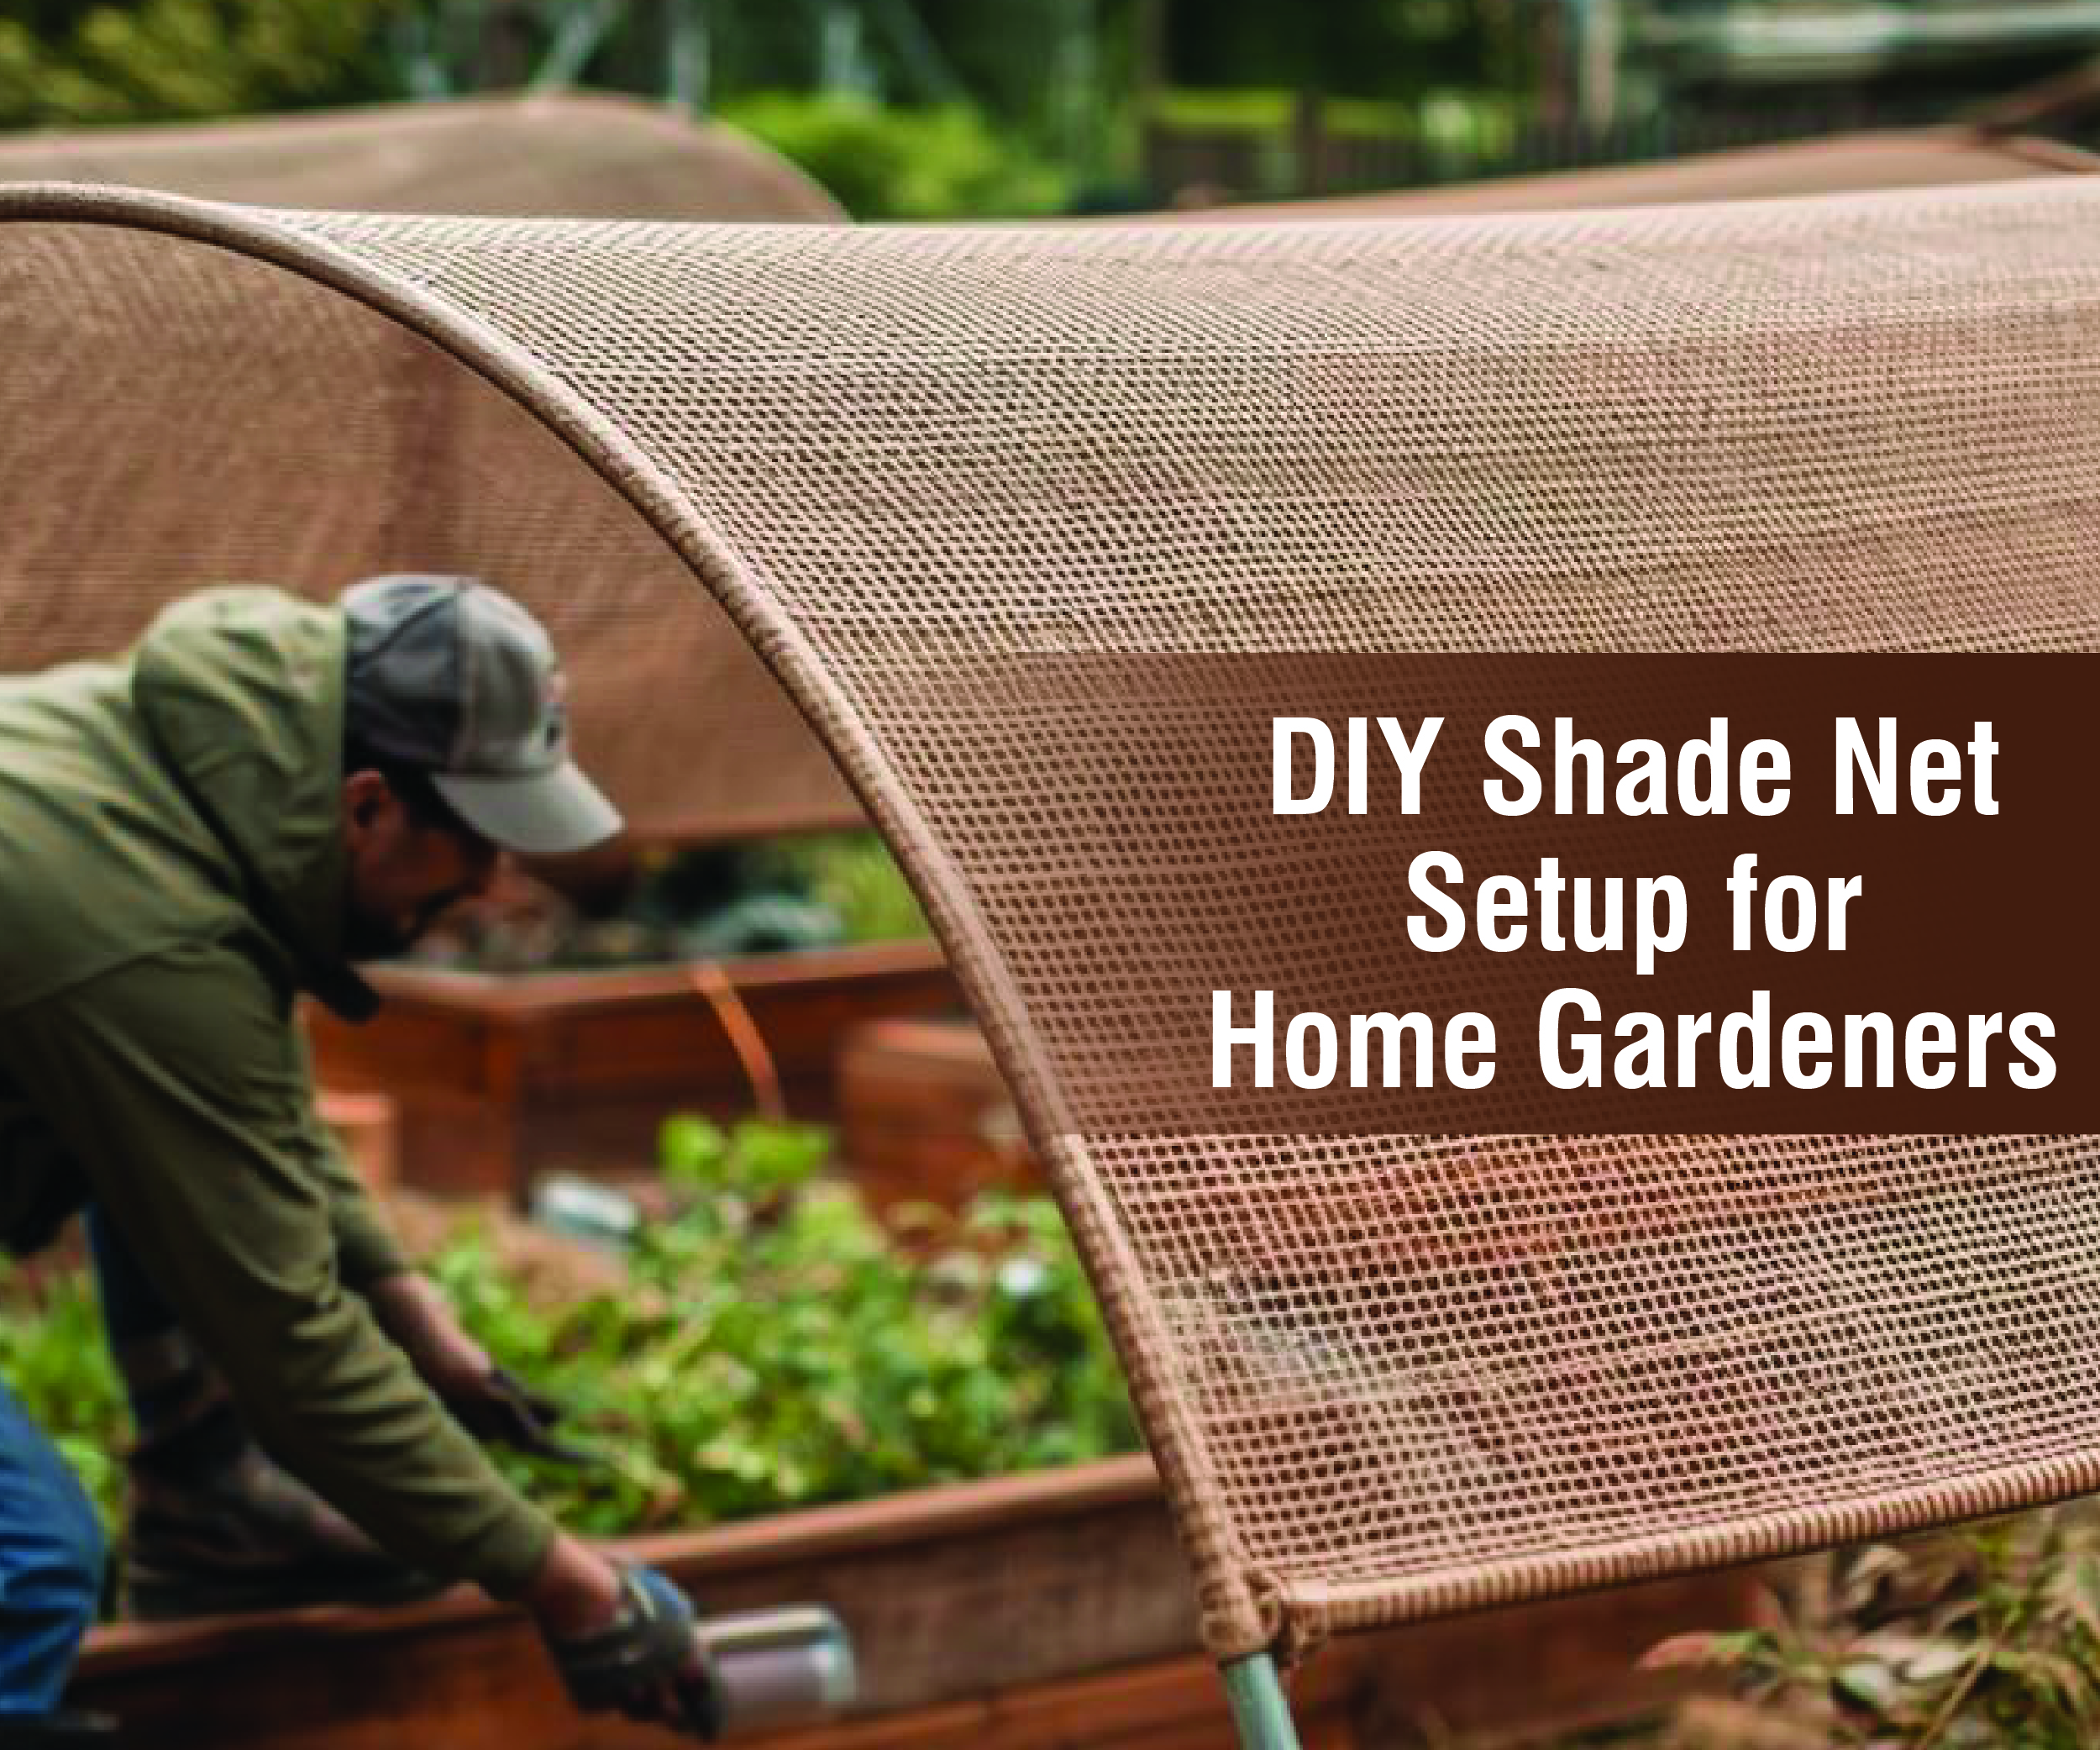
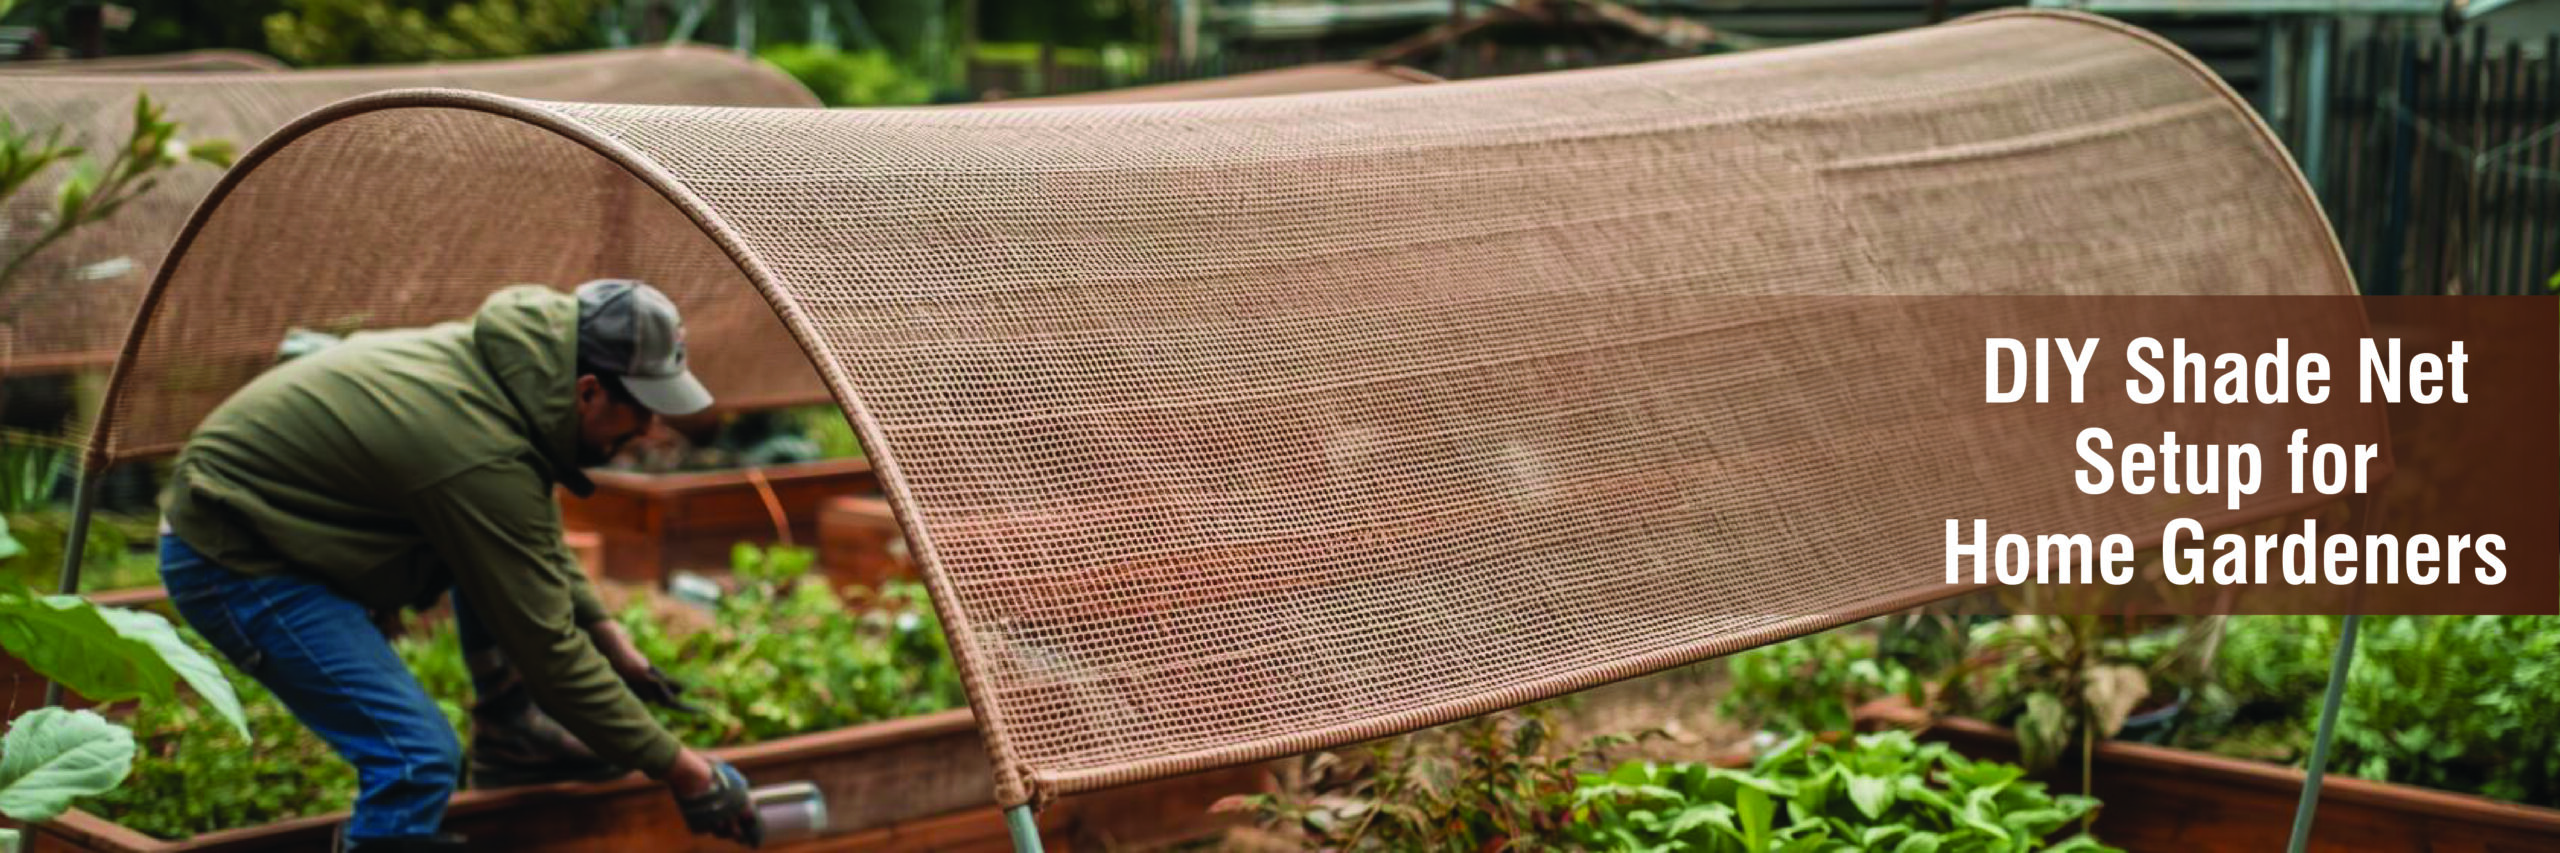
A shade net is the ultimate tool for managing intense summer heat and maximizing the health of your home garden, raised beds, or patio containers. You don’t need expensive pre-built structures; a simple, effective DIY shade net setup can be constructed quickly and affordably using common household or hardware store materials.
This guide provides a step-by-step plan for building a versatile, well-ventilated shade structure that protects your plants from harsh sunlight while ensuring they get the light they need to thrive.
Phase 1: Planning and Materials
Before you start building, decide on your structure and gather your materials.
1. Choose Your Structure Type
-
Hoop House (Best for Raised Beds/Rows): Uses flexible materials (like PVC pipe) bent into arcs. Offers good height and excellent wind resistance due to the curved shape.
-
Four-Post Frame (Best for Patios/Pots): Uses four vertical posts connected by a horizontal frame. Simple to build and offers clear overhead space.
2. Materials Checklist (For a 4-Post Frame)
| Component | Material | Notes |
| Shade Net | HDPE Shade Net | 35% to 50% density is ideal for most home vegetables and ornamentals. |
| Vertical Posts (4) | PVC pipe (1-inch diameter) or Treated Wood (2×2 inch) | PVC is cheaper and lighter; wood is more durable. |
| Horizontal Frame | Connectors/Corner Pieces for PVC, or wood screws/metal brackets for wood | Used to create the top perimeter frame. |
| Anchoring | Rebar/Stakes (for PVC posts) or Post Anchors (for wood) | To secure the posts into the ground or containers. |
| Securing Net | UV-stabilized clips, plastic zip ties, or bungees | Essential for attaching the net to the frame securely. |
3. Measure and Cut
Measure the length (L), width (W), and desired height (H) of the area you want to cover. Remember to cut the net material with an extra 1-2 feet of allowance on all sides to allow for wrapping and tensioning.
Phase 2: Building the Support Frame
A strong frame is essential to keep the net taut and prevent wind damage.
Step 4: Set the Posts
-
For Wood/Permanent Frame: Dig holes about 1 foot deep at each of the four corners. Place the posts and use gravel or concrete to secure them firmly, ensuring they are vertical using a level.
-
For PVC/Temporary Frame: Hammer metal stakes (rebar sections) 6 inches into the ground at each corner. Slide the PVC posts over the stakes for easy, sturdy removal.
Step 5: Assemble the Top Frame
-
Wood Frame: Secure the horizontal wooden pieces to the top of the posts using screws and metal brackets. Ensure the frame is level and square.
-
PVC Frame: Use 90-degree elbow connectors and T-connectors to join the top pieces of PVC pipe, creating a rectangular frame. PVC cement can be used for a permanent bond.
Step 6: Adding Support Wires (Optional but Recommended)
-
For spans longer than 6 feet, run strong wire or rope across the center of the frame (parallel to the long sides) to prevent the net from sagging under weight (like heavy rain).
Phase 3: Net Installation and Tensioning
Proper tensioning is the key to longevity and effectiveness.
Step 7: Lay Out the Net
-
Drape Carefully: Gently lift the shade net and place it over the finished frame. Ensure the net is centered with the excess material hanging evenly on all sides.
-
Anchor One Side: Choose one long side of the frame as your anchor. Fold the excess net material over the top rail and secure it tightly using zip ties or clips every 1 foot.
Step 8: Applying Tension
-
Pull Taut: Move to the opposite long side. This requires effort! Pull the net firmly across the frame to remove all wrinkles and slack. The net should be pulled taut like a drum skin.
-
Secure Under Tension: While maintaining tension, secure the net to the opposite rail using more zip ties, clips, or bungees.
Step 9: Securing the Ends and Base
-
Tidy the Ends: Pull the net taut on the short ends of the frame and secure them. Any excess material can be rolled up and secured with ties to prevent wind flapping.
-
Ground Anchor: Secure the bottom edge of the net to the ground or the base of your raised bed using heavy staples, bricks, or by attaching it to a base cable. This prevents wind from lifting the net and stops pests from crawling underneath.
Phase 4: Optimization Tips
1. Maximize Ventilation
-
Keep Sides Open: Do not seal the sides of your shade structure unless absolutely necessary for pest control. Keeping the sides open allows for cross-breeze, which prevents heat buildup and reduces the risk of fungal disease.
-
Ensure Sufficient Height: The 6 to 8-foot height is crucial, as it allows hot air that rises from the plants to escape and provides a cool air buffer.
2. Seasonal Adjustment
-
Monitoring Light: If the weather turns cloudy and your plants start to look pale or “stretched,” temporarily remove or roll up one side of the net during the cooler parts of the day.
-
Winter Storage: Before the frost arrives, remove the net, clean it, let it dry completely, and store it in a clean, dark area to maximize its lifespan for the next growing season.